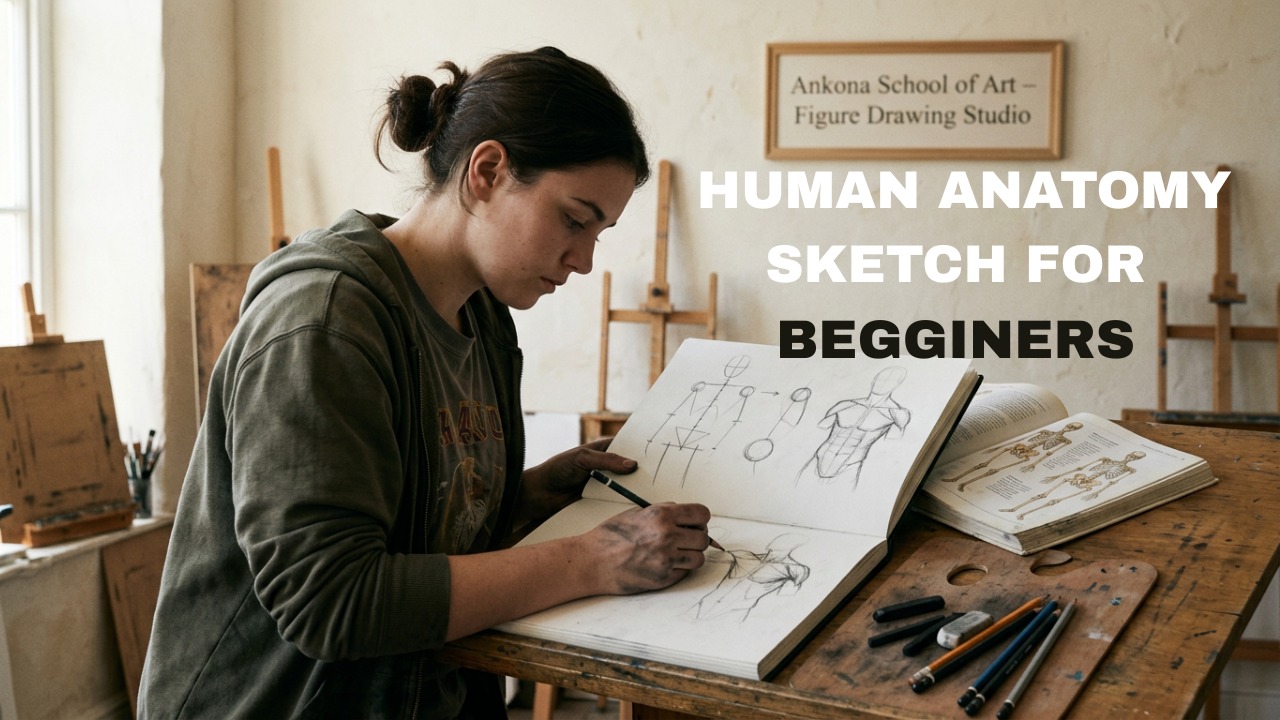
Learning to draw the human figure is one of the most exciting and challenging skills in art. Many beginners feel confused about how to sketch human anatomy correctly. The good news is that with the right guidance and practice, anyone can learn it step by step.
At Ankona School of Art, students are trained with a structured approach that makes anatomy drawing easy, practical, and enjoyable. This beginner’s guide will help you understand how to start sketching human anatomy from basics.
Why Learning Human Anatomy Is Important in Art
Human anatomy is the foundation for:
- Figure drawing
- Character design
- Animation and gaming
- Fashion illustration
- Portrait drawing
When you understand body structure, your drawings look more realistic and professional. Strong anatomy knowledge improves observation and drawing confidence.
Step 1: Start with Basic Shapes
Before drawing muscles and details, beginners must understand simple shapes.
- The human body can be broken into:
- Circles (head and joints)
- Cylinders (arms and legs)
- Boxes (chest and pelvis
- At Ankona School of Art, students first learn to simplify the body into basic forms. This makes drawing easier and less confusing.
: Learn Body Proportions
- Correct proportion is very important in anatomy drawing.
- Basic proportions to remember:
- Average human height = 7 to 8 heads tall
- Shoulders are wider than the head
- Arms reach mid-thigh
- Eyes are at the center of the face
- Practicing proportions helps avoid common beginner mistakes.
Step 3: Study Skeleton Structure
Understanding the skeleton improves figure accuracy.
Focus on:
- Spine movement
- Rib cage shape
- Pelvis structure
- Joint connections
You don’t need to draw every bone, but knowing the structure helps create natural poses.
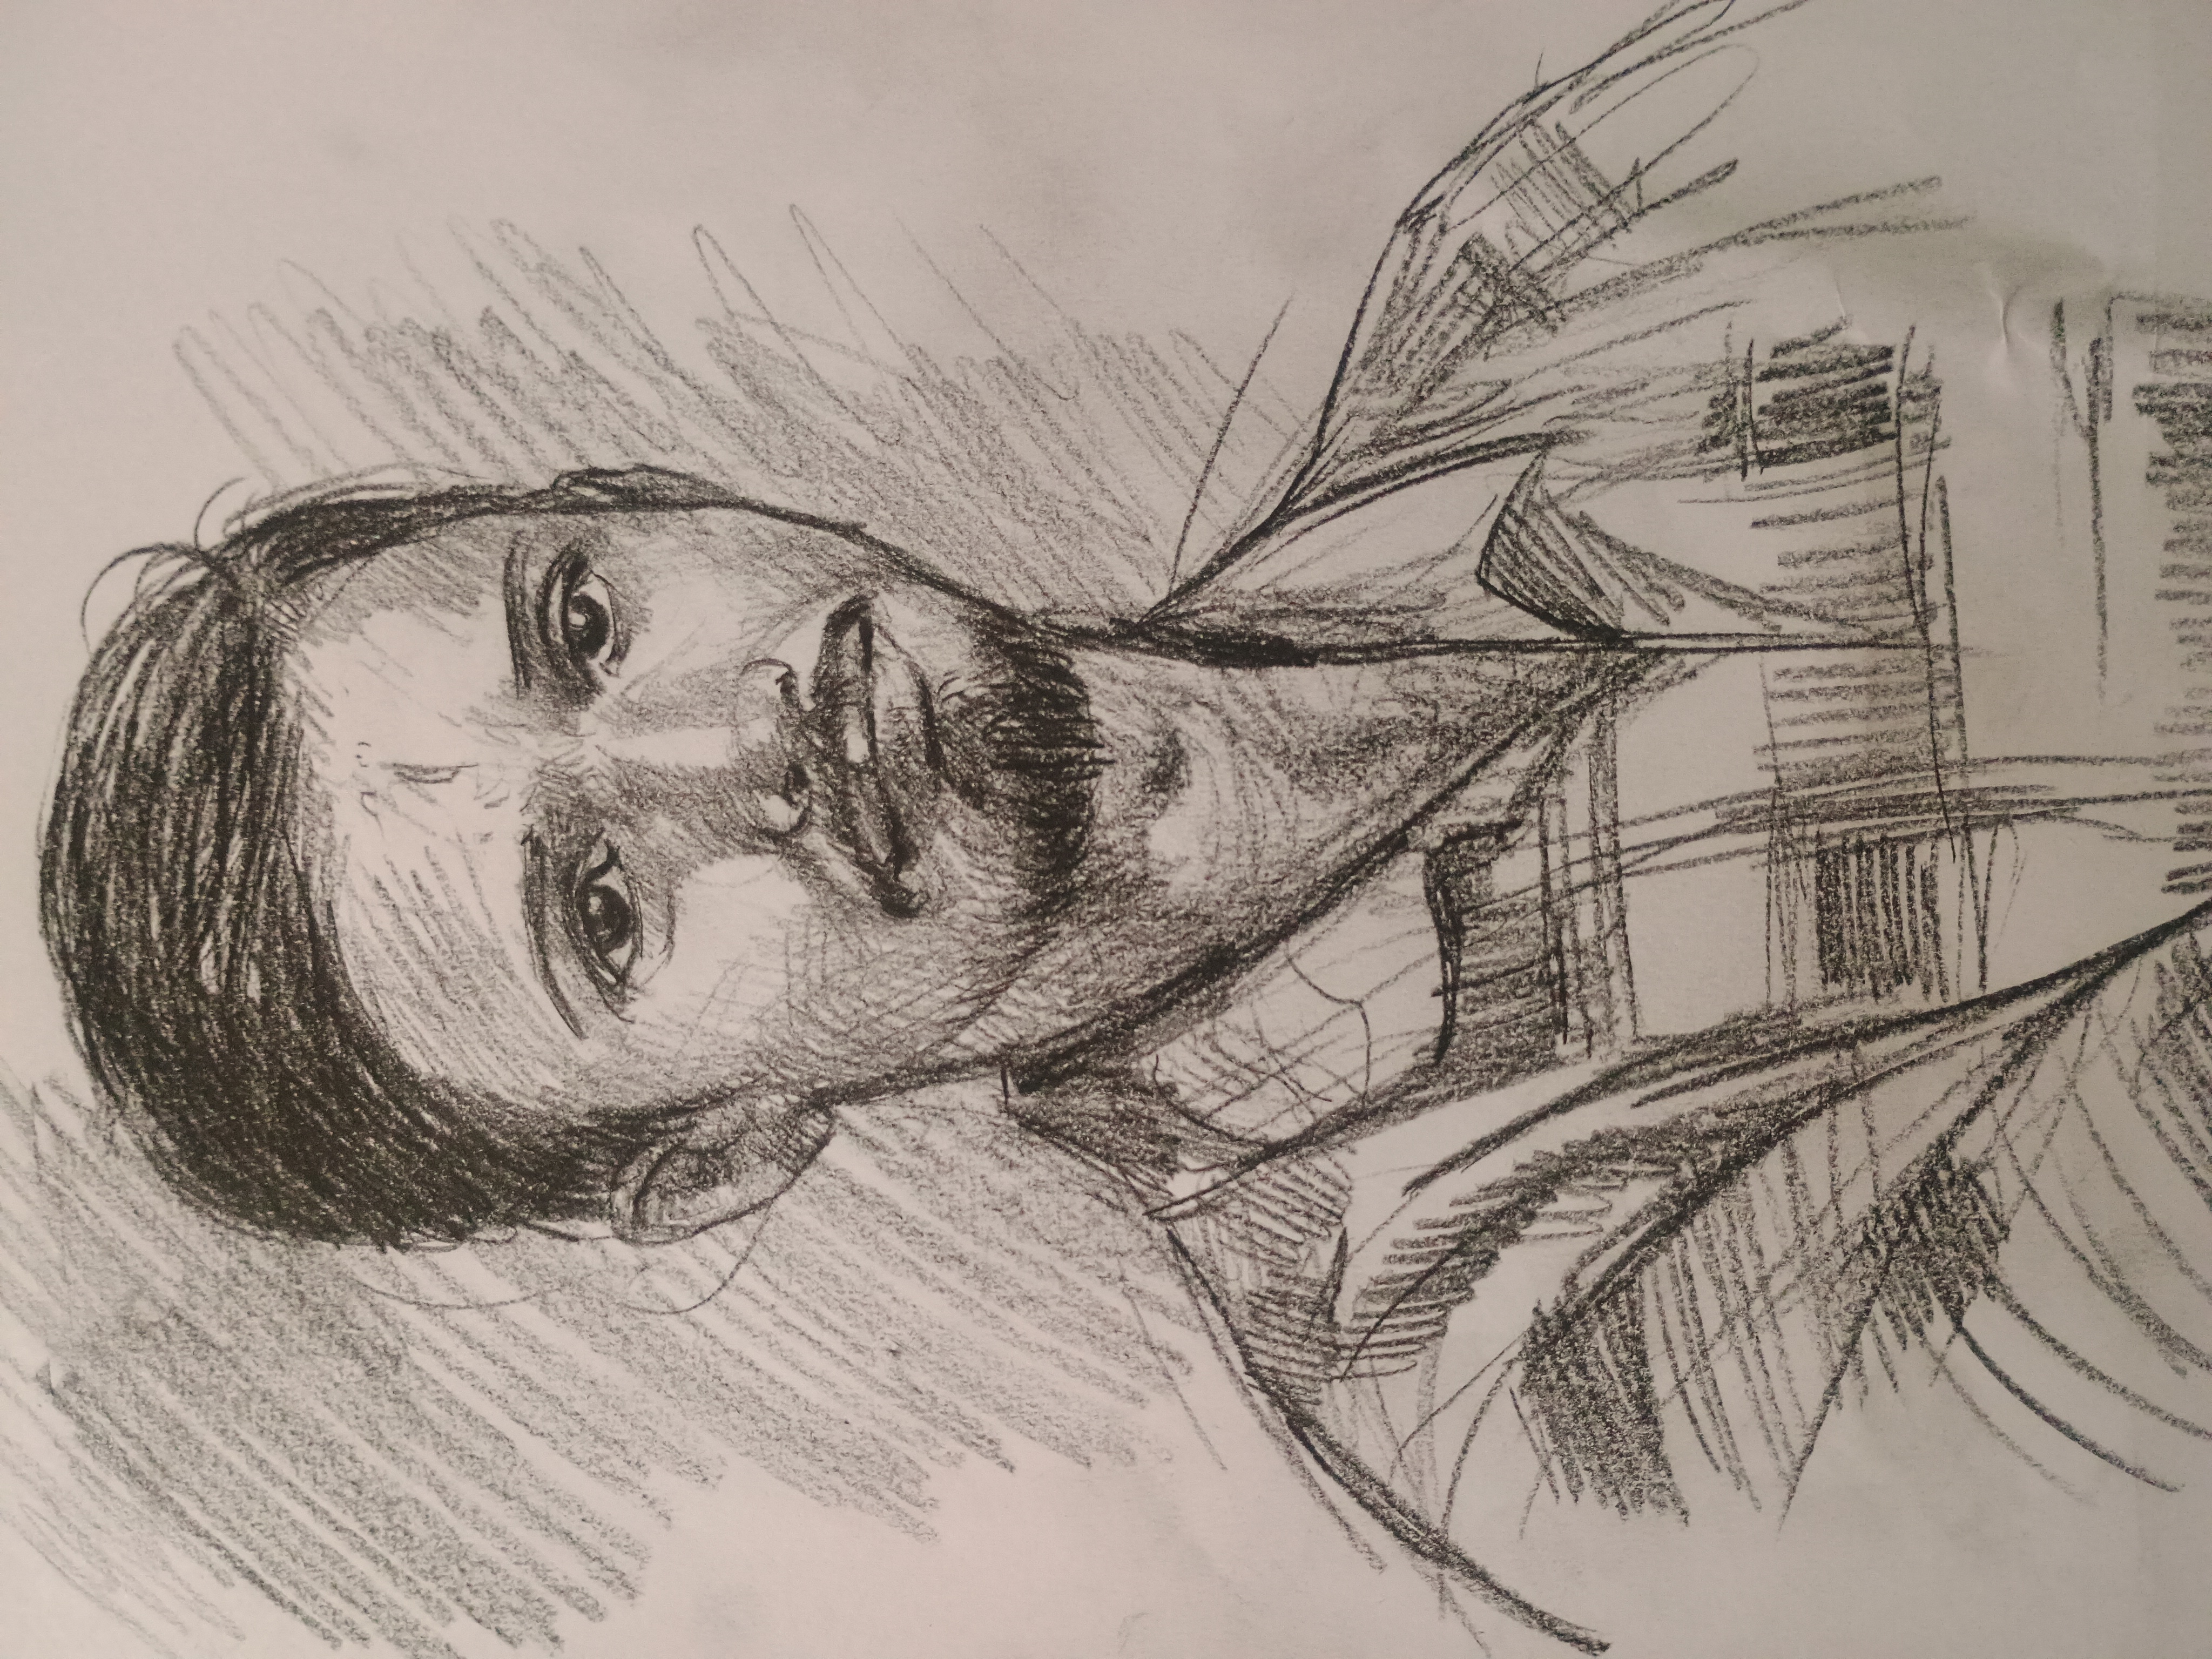
Step 4: Add Muscles and Form
Once basic shapes and skeleton are clear, start adding muscle forms.
Begin with:
- Arms and legs muscles
- Neck and shoulders
- Chest and back structure
- Keep forms simple at first. Over time, details can be added gradually.
Step 5: Practice Gesture Drawing
Gesture drawing improves flow and movement in figures.
Practice:
- 1–2 minute quick sketches
- Action poses
- Standing and sitting poses
- Gesture drawing helps you capture movement and avoid stiff drawings.
Step 6: Use Reference Images
- Always practice with reference photos or real-life observation. This improves:
- Accuracy
- Understanding of form
- Observation skills
- Avoid copying blindly. Try to understand the structure behind the pose.
- Common Mistakes Beginners Should Avoid
- Drawing details too early
- Ignoring proportions
- Making stiff figures
- Not practicing regularly
- Avoiding basic construction
- Learning anatomy is a gradual process. Patience and consistency are key.
How Ankona School of Art Helps Beginners
At Ankona School of Art, anatomy drawing is taught step by step with proper guidance.
Students learn:
- Basic structure and proportions
- Live demonstration and practice
- Character and figure drawing
Portpolio-level sketching skills
With 25+ years of teaching experience, Ankona focuses on building strong fundamentals for beginners and advanced learners.
Final Thoughts
Sketching human anatomy may look difficult at first, but with the right method, it becomes easy and enjoyable. Start with simple shapes, understand proportions, and practice regularly.
With proper training and consistent practice, anyone can learn to draw human figures confidently. Begin your anatomy drawing journey step by step and unlock a new level of artistic skill.